We are excited for our second installment of our Nature Story Time video series, so even in times where we need to be isolated, we can still be together. We hope to bring you a few nature story times each week along with a little art project or nature exploration that you can do at home. Please comment and let us know what stories you’d like to hear, what you like about the program, and most importantly how we can improve. If you missed it, our first nature story time was Little Bird.
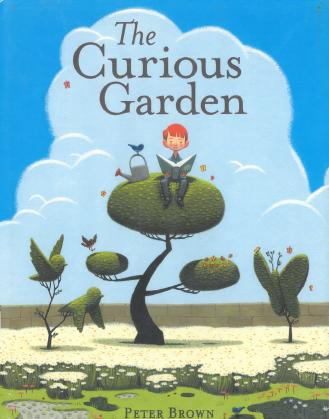
Our second story is The Curious Garden by Peter Brown. Just like in Liam, these days it is restoring to look for the little treasures in nature and discover spring come alive right outside your door, on the sidewalk, little gardens, and in your neighborhood. Enjoy the story.
Nature Journaling Art Project

Enjoy this wonderful art project created by Dan Boudreau, MABA’s incredible TerraCorp service member.
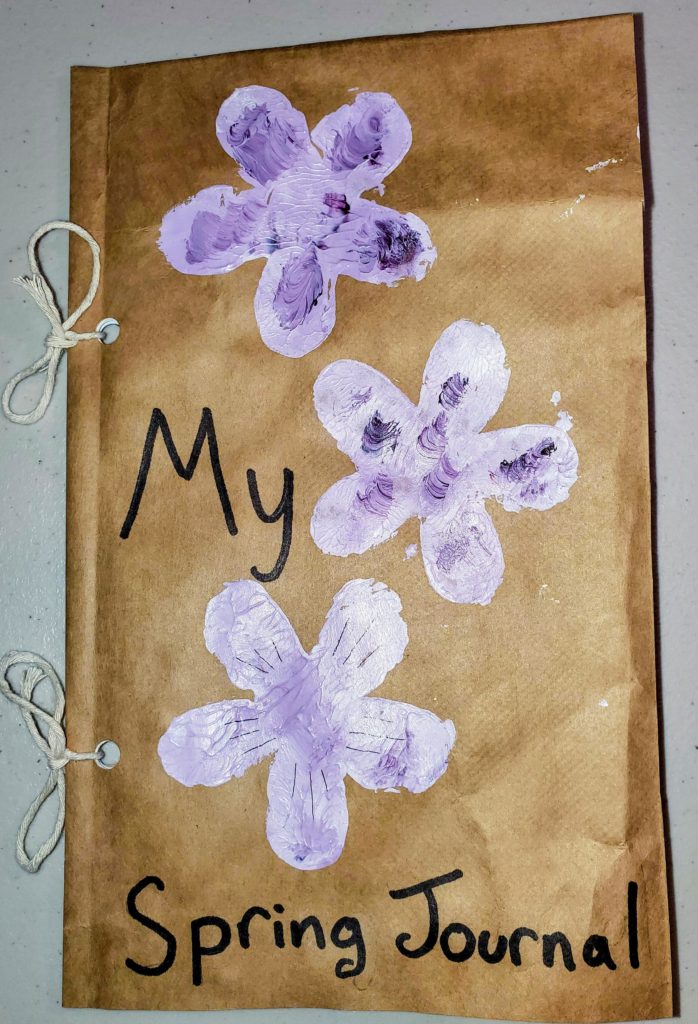
As we move further into spring, more and more plants will bloom. More and more wildflowers will blossom! If you look closely, you’ll see wild gardens growing all around you. To keep track of all the new flowers blossoming, you can keep a Spring Journal. Here’s how to make one. We’ll make a flower stamp out of cardboard to decorate the cover.
Materials
You’ll need:
- A paper grocery bag
- White paper for your journal pages (regular printer paper works great)
- Paint, a paintbrush, and a palette knife (optional)
- Twine or yarn
- A hole punch
- A black marker
- Scissors
- Cardboard from a cereal box
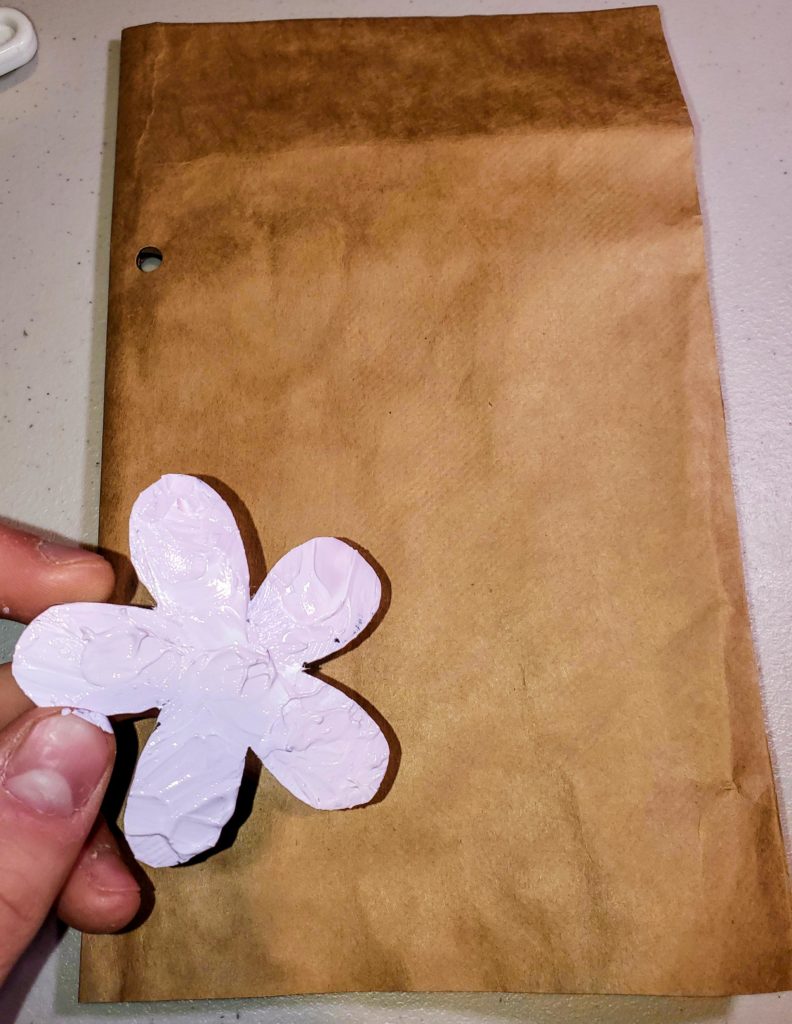
Step 1: Making the stamp
Draw a flower onto the piece of cereal box and cut it out. I made mine in the shape of violet wood sorrel, a wildflower that grows here in Massachusetts. What’s your favorite wildflower?


Step 2: Make the cover of the journal
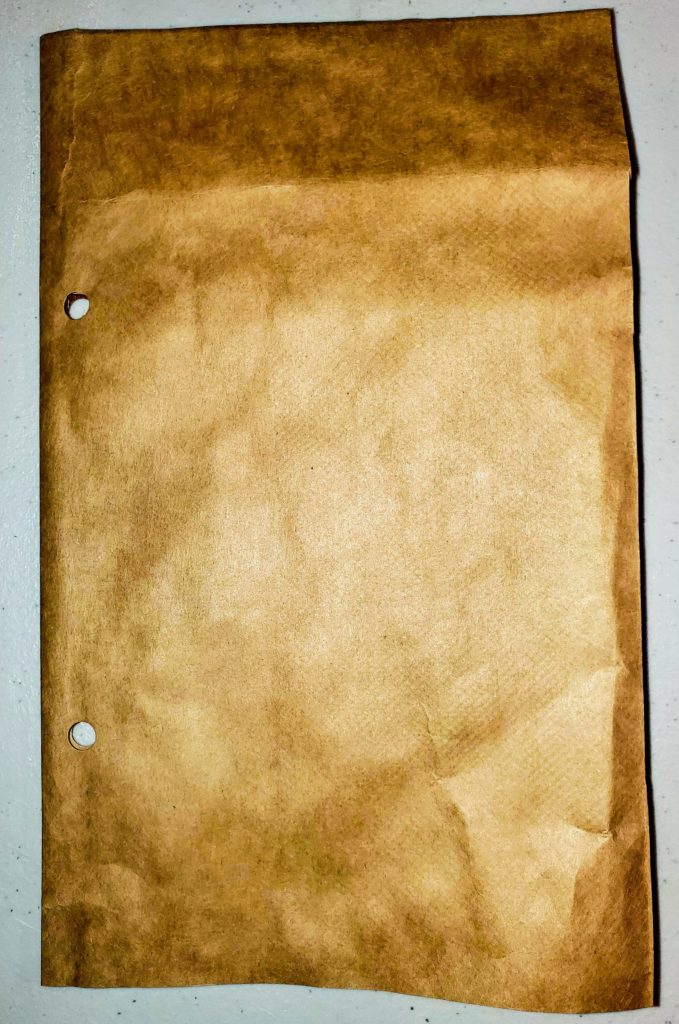
Take the grocery bag and cut out a large rectangle. You’re going to fold it in half, so make it big! It should be a little larger than the pieces of paper that you’ll use for your pages. Once you’ve cut it, fold it in half hamburger-style. Then punch holes for your twine.
Step 3: Stamp the cover
Take the flower you cut from the cardboard and load up one side with paint. You’ll need more paint than if you were just painting the flower itself, so put it on thick. I used a palette knife, but a popsicle stick would work well too. Press the stamp paint-side-down onto your journal cover, making sure to press down every part of the flower. Stamp as many flowers on the cover as you want. I added more paint to my stamp after the second flower.
Step 4: Put the finishing touches on your flowers
Use a paintbrush to fill in any blank spots on your flowers. I mixed two shades of purple, and used a paintbrush to dab on a few spots of the darker purple to really make them pop! Now put your cover aside to dry.
Step 5: Put your journal together
Is your cover dry? Great! Fold your white paper in half and hole punch it. Put it inside your cover and use the twine to tie it all together. You’re all done! Now you have a place to draw all the wild and curious gardens that you’ll see this spring!
Thanks for joining us and hope you enjoyed the art project and nature story time.