SUPPORT OUR WORK and Donate to the Museum of American Bird Art
We are excited for our third installment of our Nature Story Time video series, so even in times where we need to be isolated, we can still be together. We hope to bring you a nature story time each week along with a little art project or nature exploration that you can do at home.

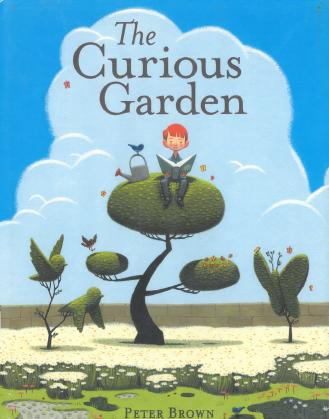
Please comment and let us know what stories you’d like to hear, what you like about the program, and most importantly how we can improve. If you missed it, our second nature story time was a Curious Garden. If you missed it, our first nature story time was Little Bird.
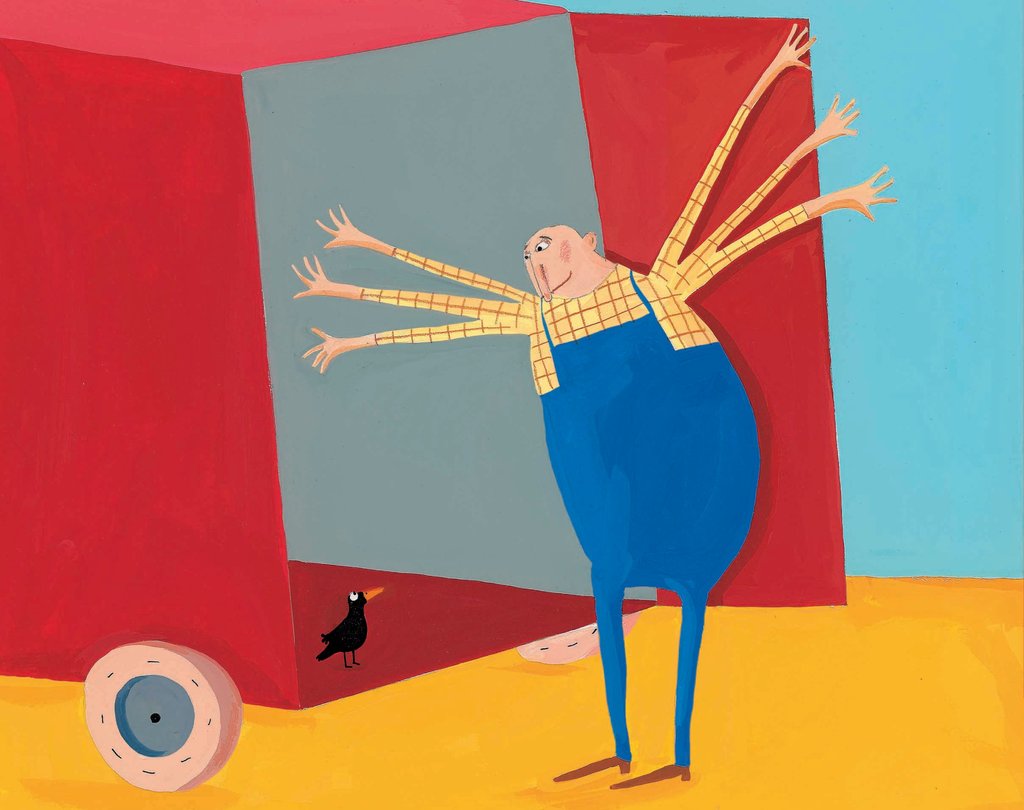
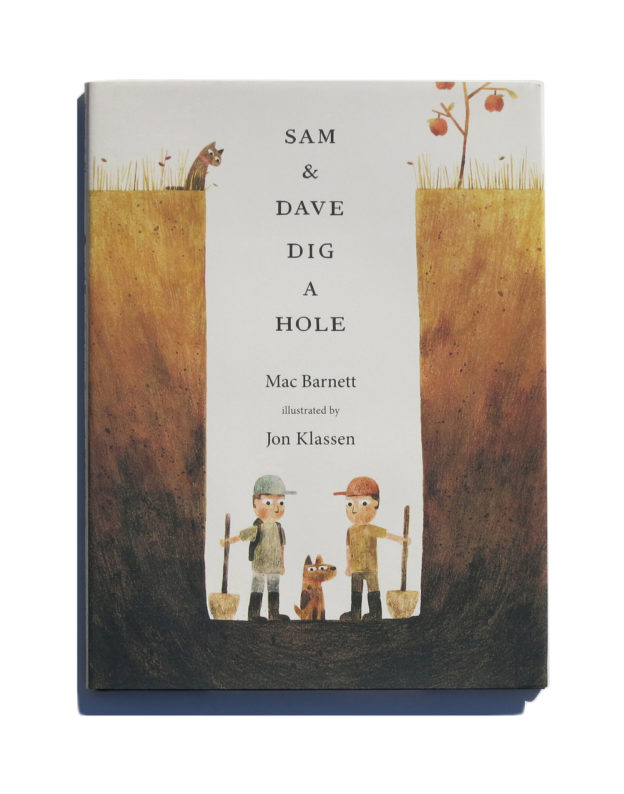
Our third story is Sam and Dave Dig a Hole by Mac Barnett and illustrated by Jon Klaussen. During these times of being isolated, it is restoring to go on nature adventures and find the spectacular and little treasures in nature right outside your door, on the sidewalk, and in your neighborhood. Enjoy the story.
Meet Mac Barnett and Jon Klaussen
Art Project
Make a Mole that Loves Digging Holes
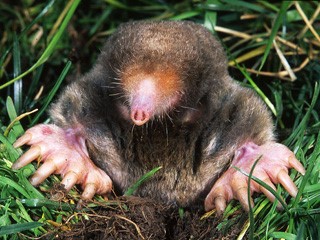
Today we’re going to make an art project all about an animal that loves to dig: moles! Moles eat all kinds of insects that live underground. To find those insects, they dig. A lot! Some moles dig up to 150 feet of new tunnels every day.
To do all that digging, moles need big, powerful front paws. They use them like shovels. Where are the eyes? Moles do have eyes, but they’re black and very small. Their fur is also very dark. That makes it very hard to see their eyes.
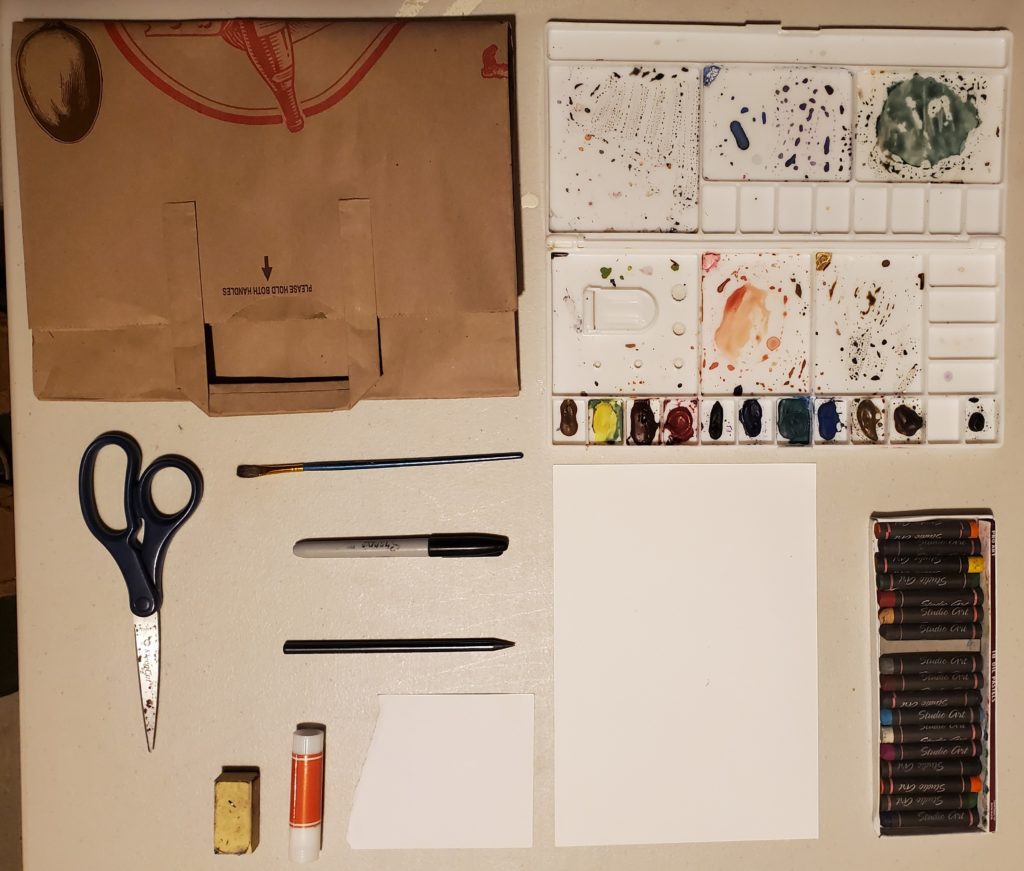
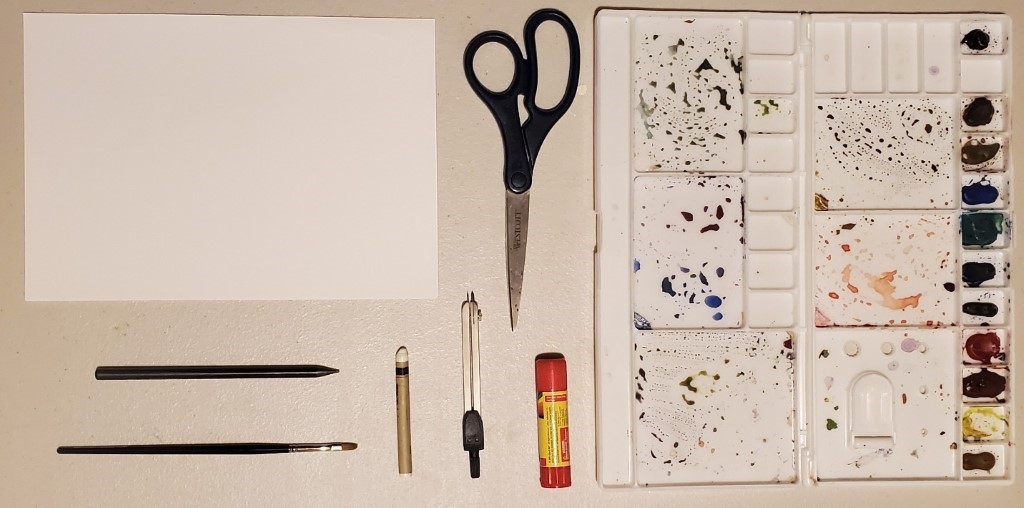
Here’s what you’ll need to make your own mole:
- One piece of sturdy white paper
- Watercolors, a palette or plastic plate (for mixing), a brush, and clean water
- Note: You can use any art materials to make the mole, it doesn’t have to be watercolors. You could use crayons, markers, collage scraps of paper, or anything that you have with you.
- A white crayon
- Scissors
- A pencil
- Glue
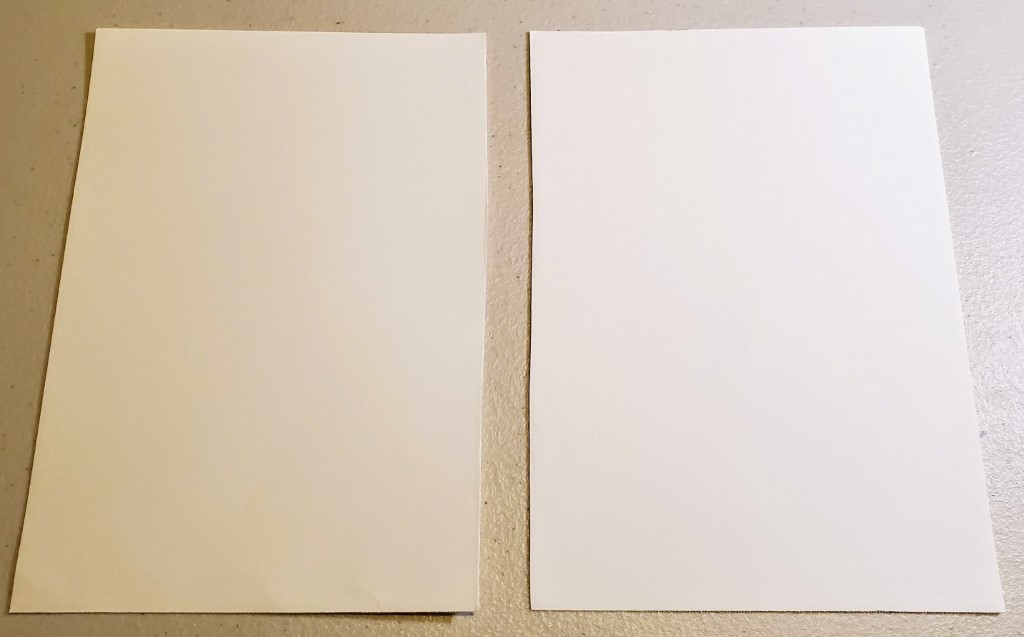
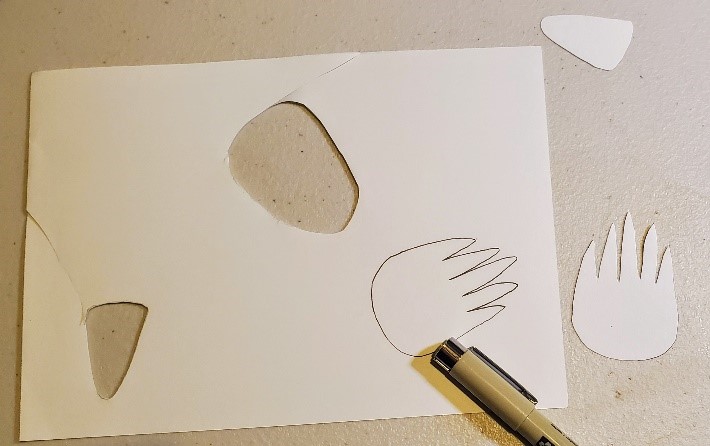
Step 1: Prepare your paper
Cut your piece of paper in half. It doesn’t need to be perfect. We’re going to cut the mole body out of one half and the paws and nose out of the other.
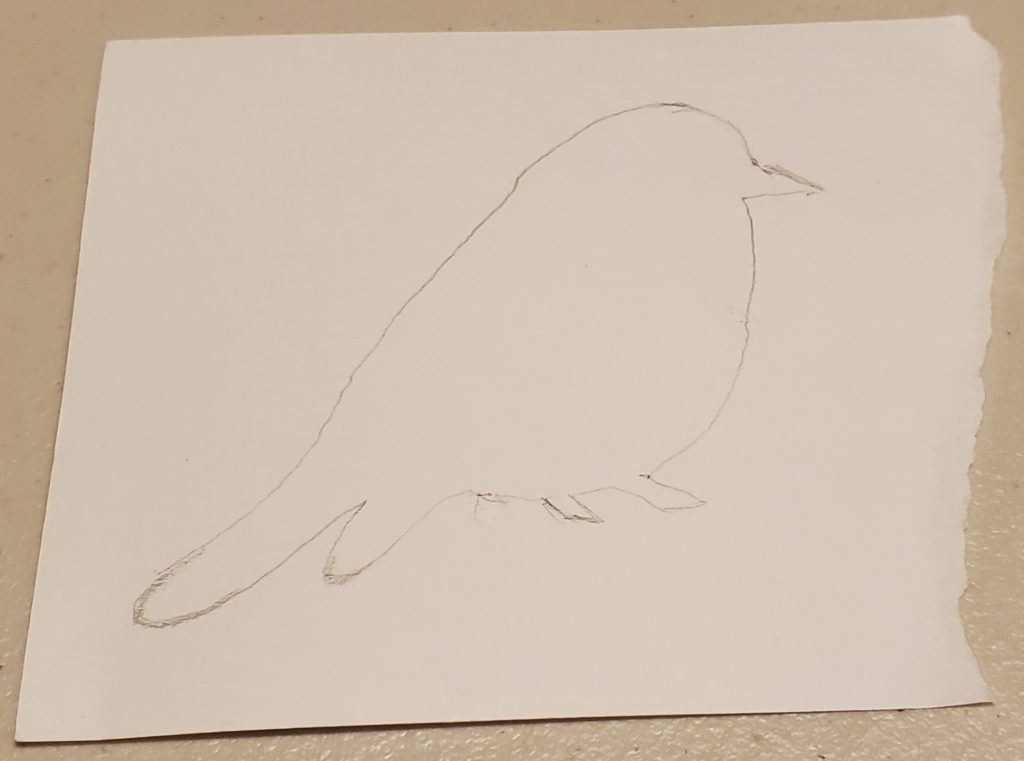
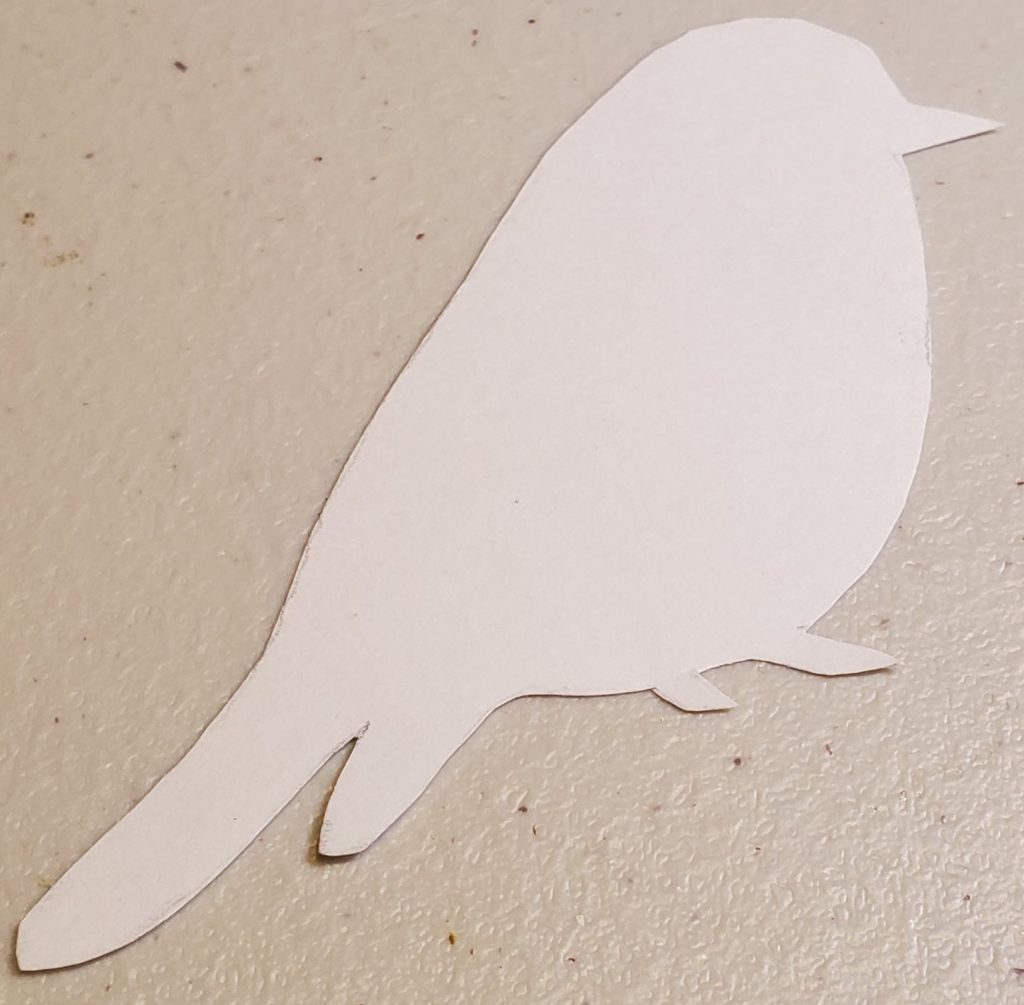
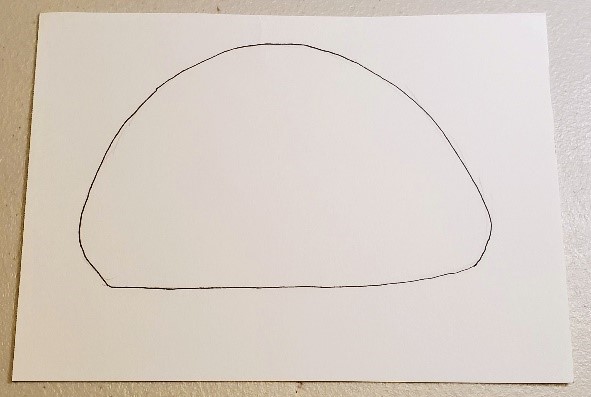
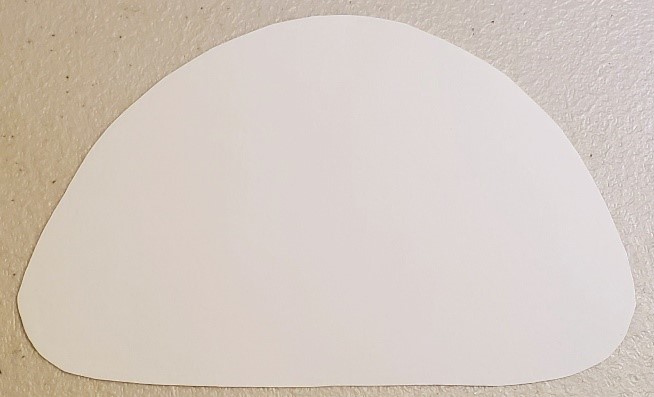
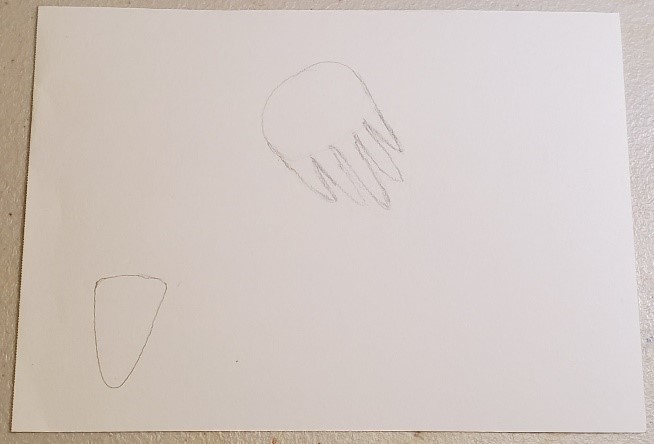
Step 2: Make the body
Use a pencil to draw the body of the mole on one of your pieces of paper. Moles have big, powerful shoulders to help them dig, so the body should be wide. Cut out the body.
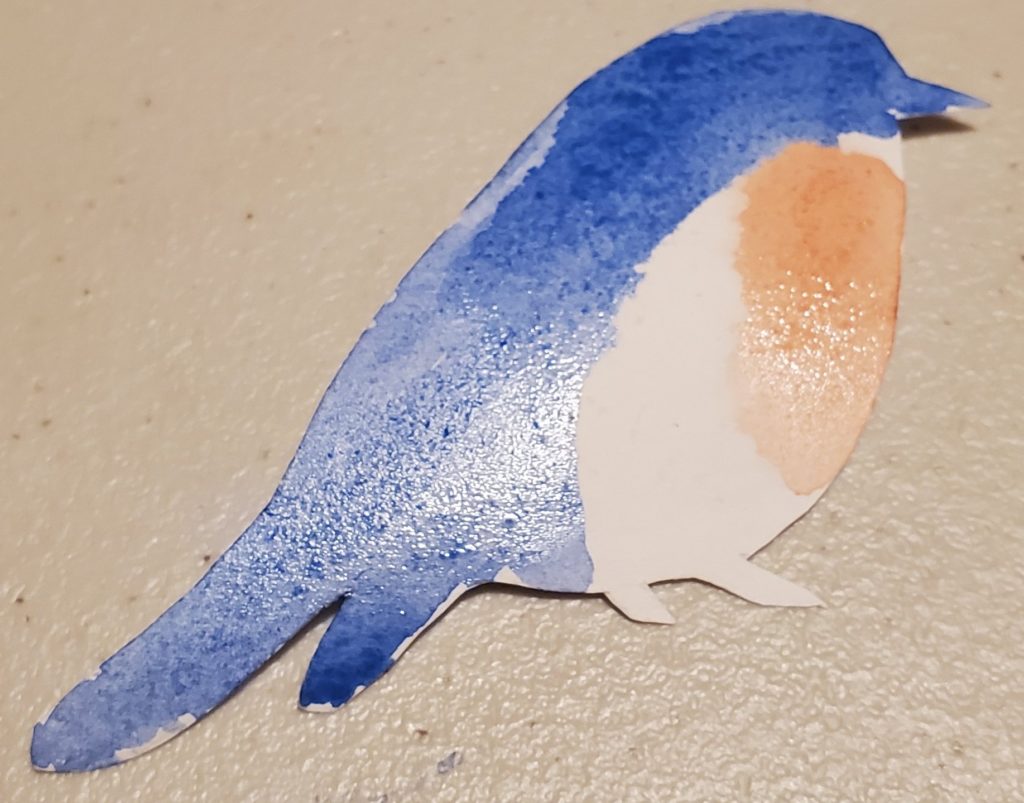
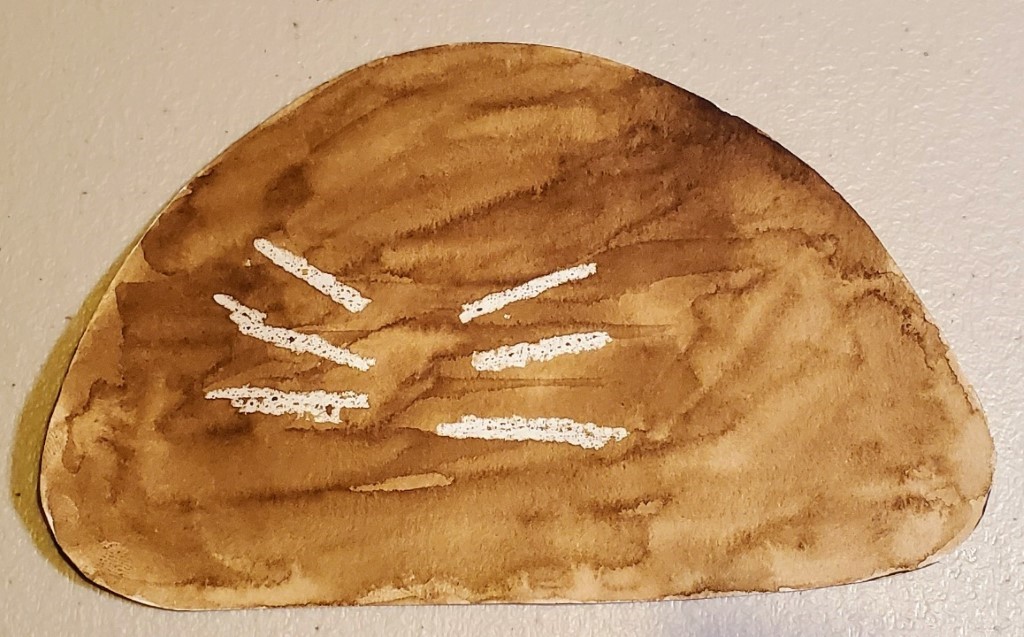
Step 3: Draw the whiskers and paint the body
Use your white crayon to draw whiskers on the mole’s face. You won’t be able to see the whiskers yet, but when you paint the body, they’ll show up white. This is because watercolors don’t stick to crayon wax. Mix up a nice, dark brown with your watercolors. I used the darkest brown on my palette and added just a little black. Paint the body with long, wide strokes. Don’t worry if the paper curls up a little! Mine did when I first painted it, but it flattened out as it dried. Set the body aside to dry.
Step 4: Make the snout and paws
Take the other half of your paper. Use your pencil to draw a triangle for the snout. I made the corners of mine round. Draw a big paw with five long claws. You can draw your second paw now, or cut out the first paw and trace it to make the second. It’s up to you! I traced so that the two would be exactly the same.
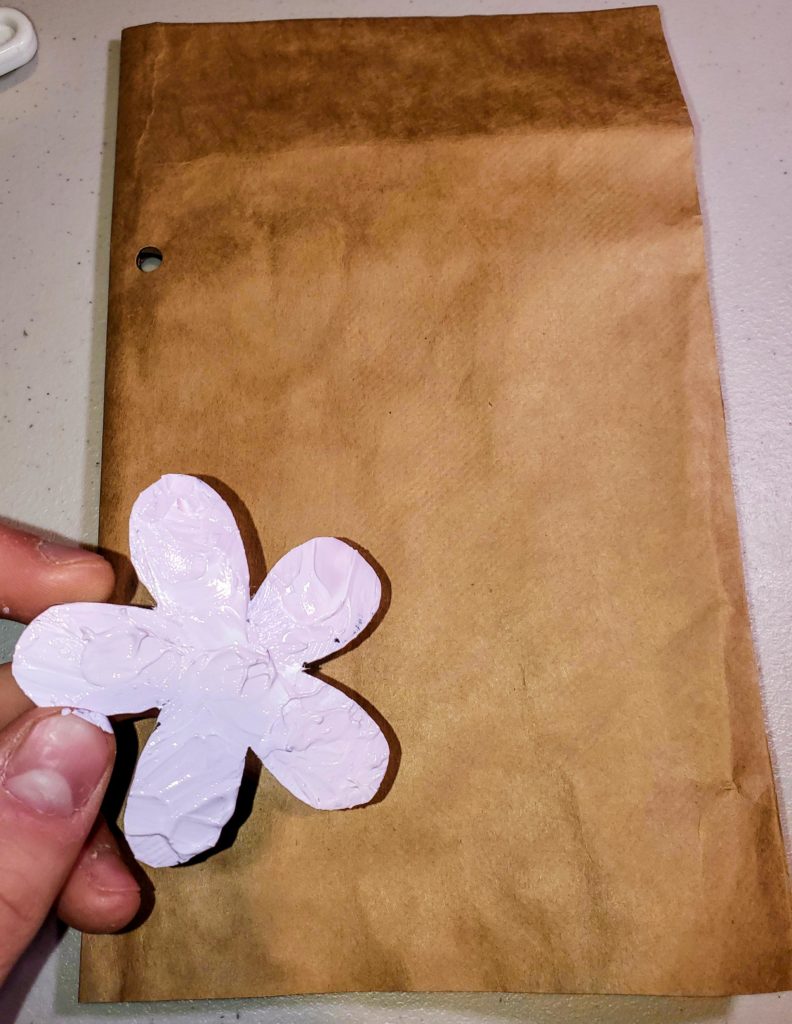
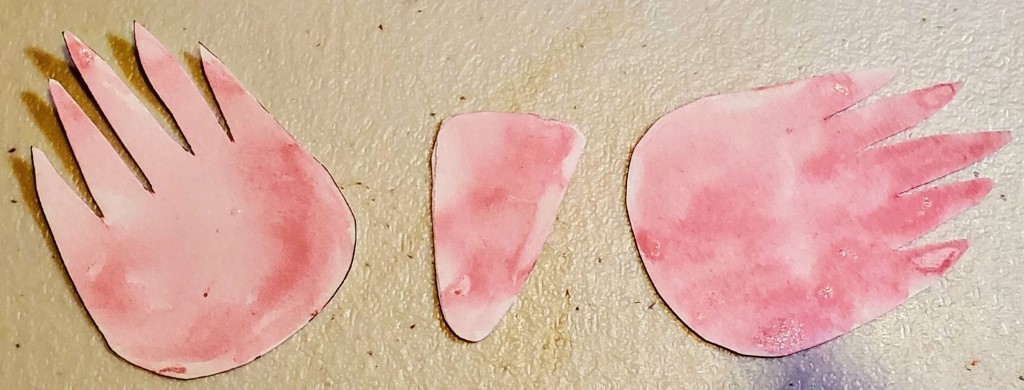
Step 5: Paint the snout and paws
Use your watercolors to mix up a light pink. Paint your paws and snout. Set them aside to dry.
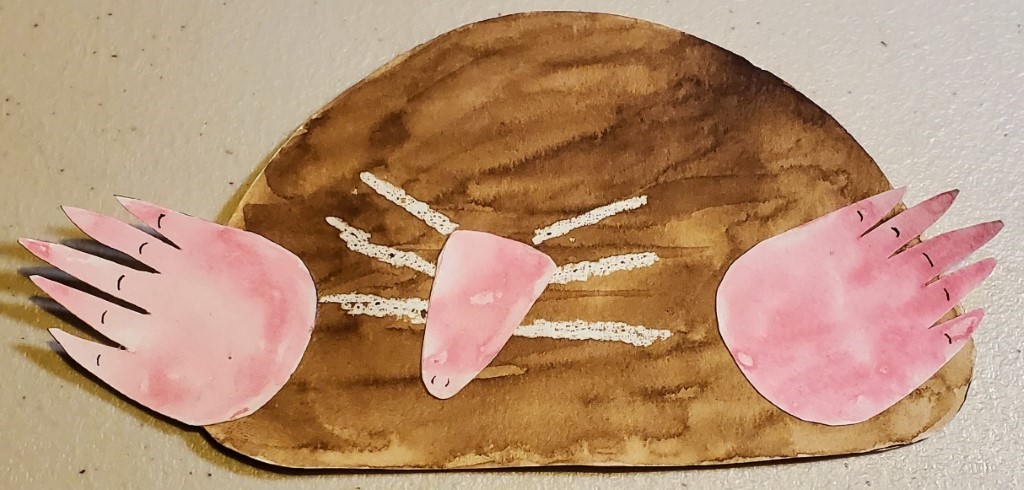
Step 6: Assemble!
Use a glue stick to glue on your paws and snout. I used a thin black pen to add nostrils on the snout and some details on the paws. You’re all done! What sorts of cool things do you think moles find underground?

Art Project Video by TerraCorp Service Member Dan Boudreau
SUPPORT OUR WORK and Donate to the Museum of American Bird Art